How to Add a License and Manage Your Account: Trainer's Demo
This guide demonstrates the steps for trainers to add a license and manage their account. Follow each step carefully to ensure a smooth process.
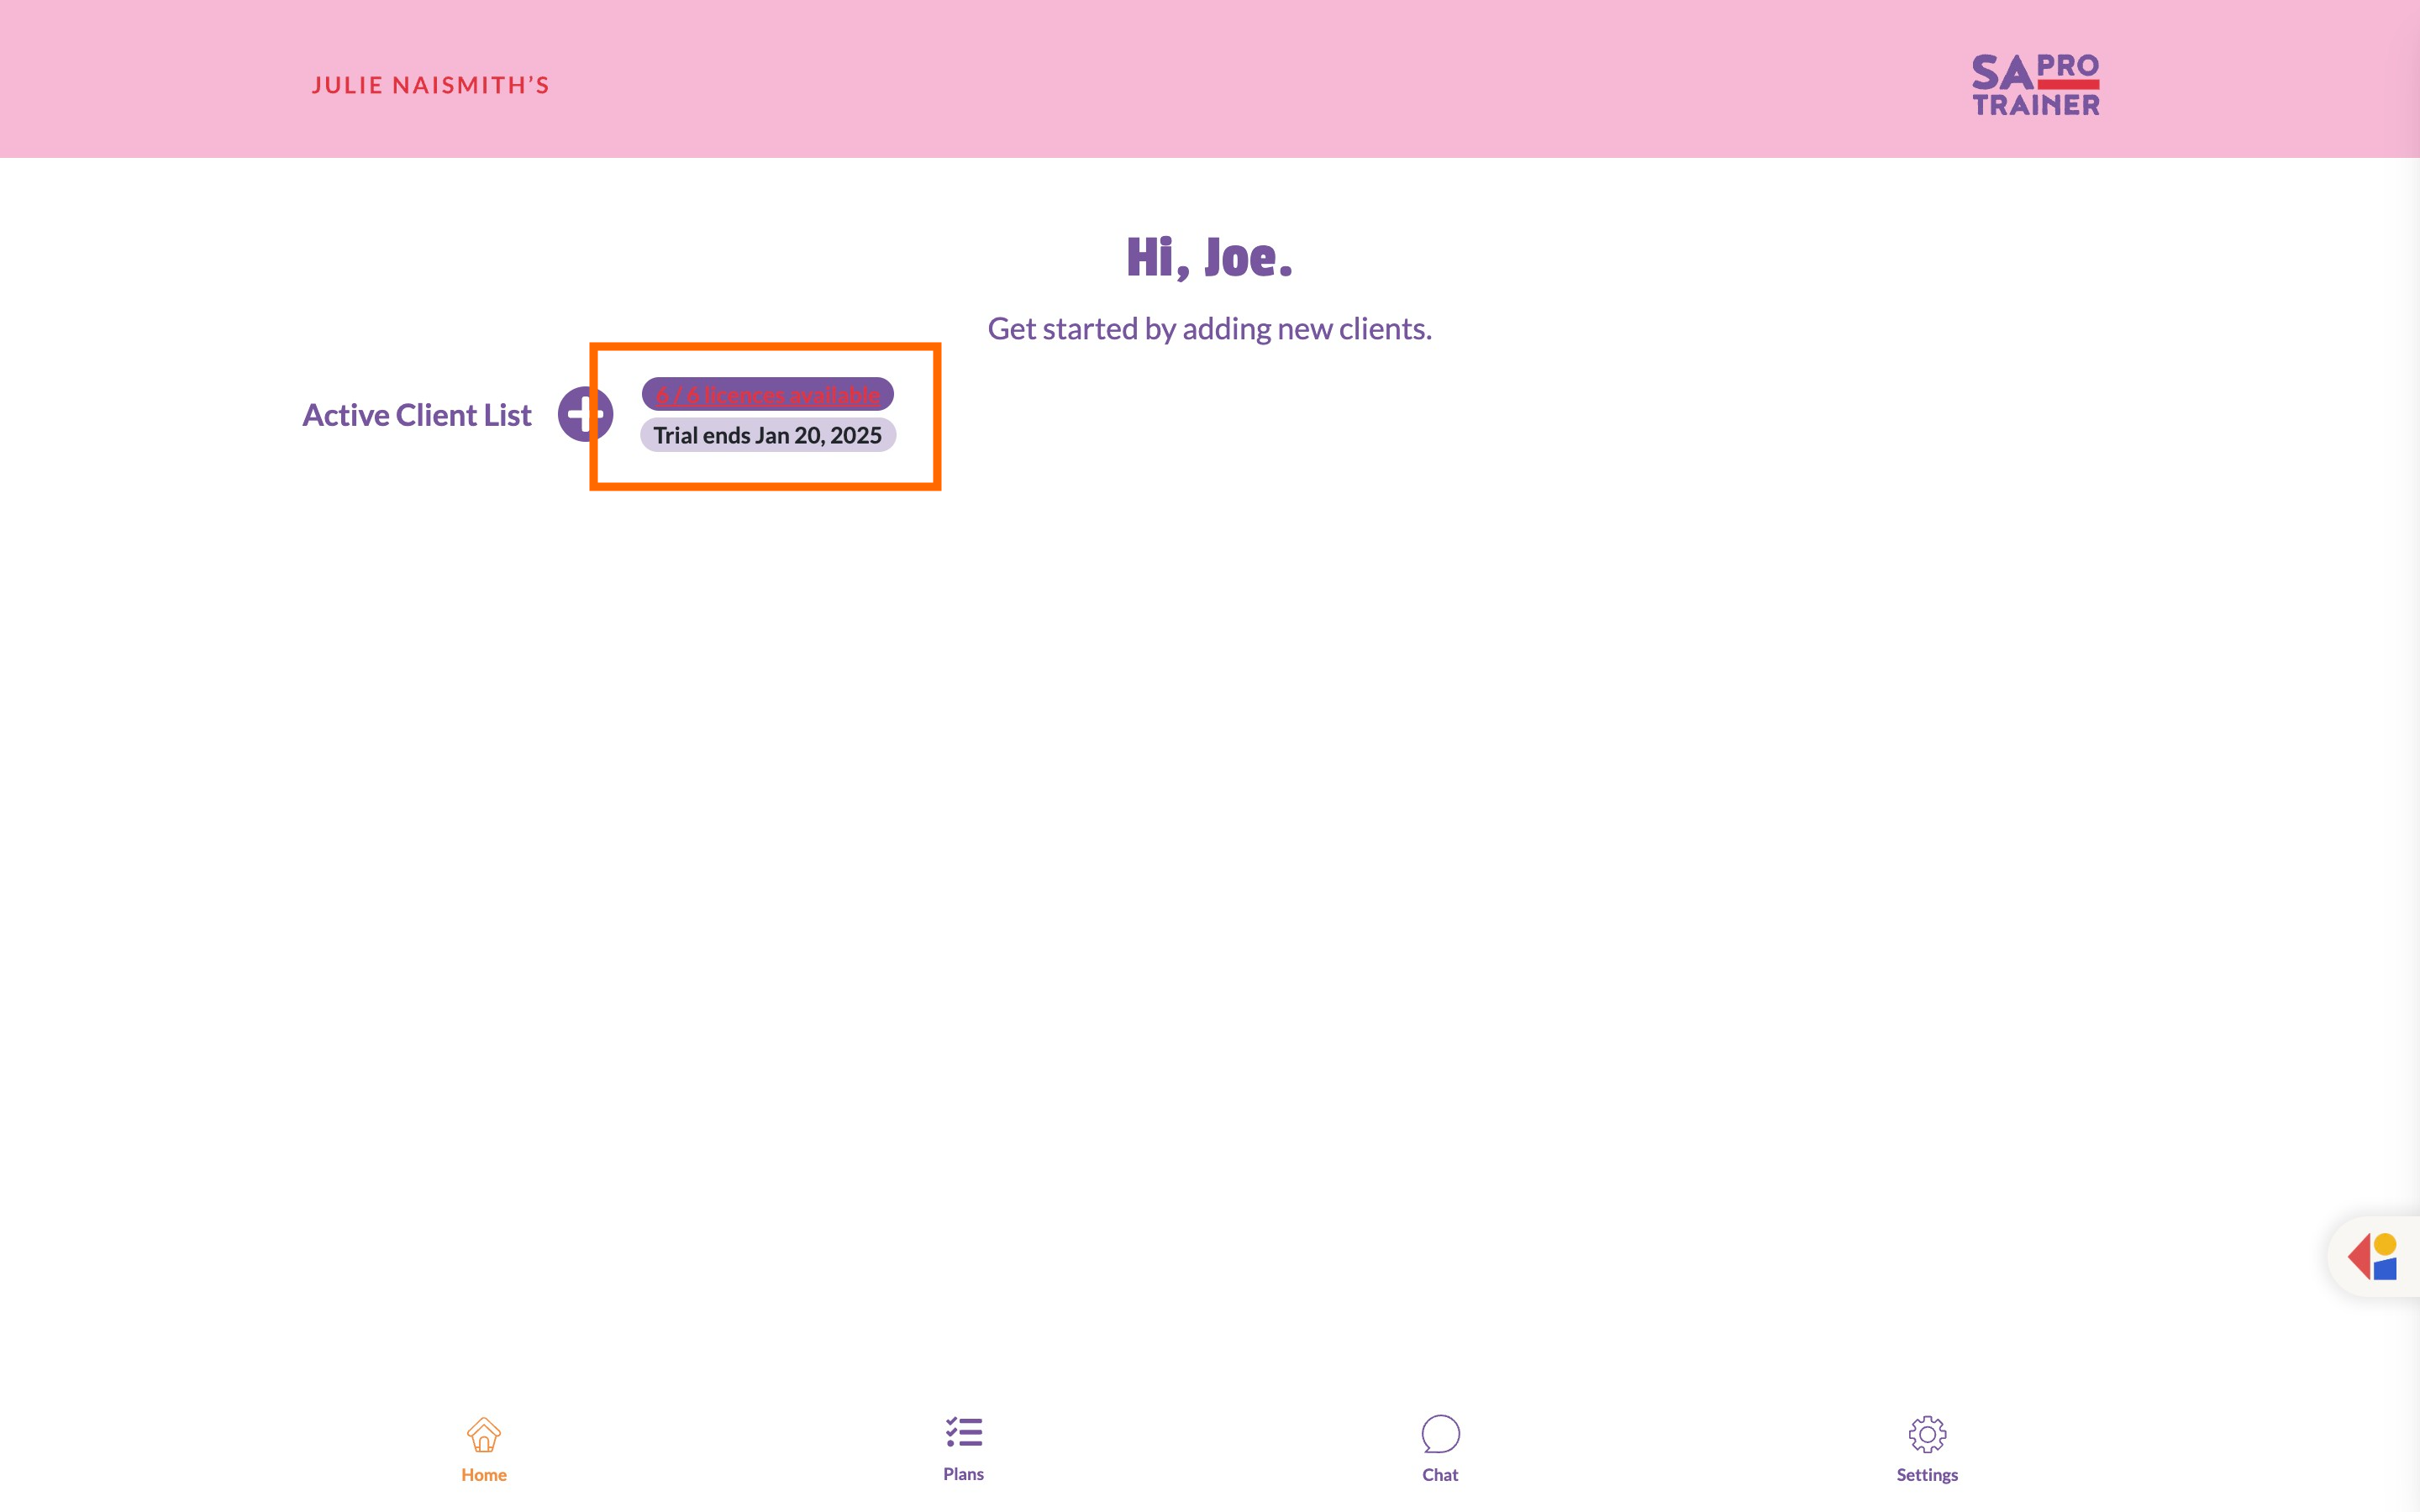
Step 1: Navigate to your dashboard and click on licenses available.
Start by navigating to the licenses available' section. This will show you the current status of your licenses.
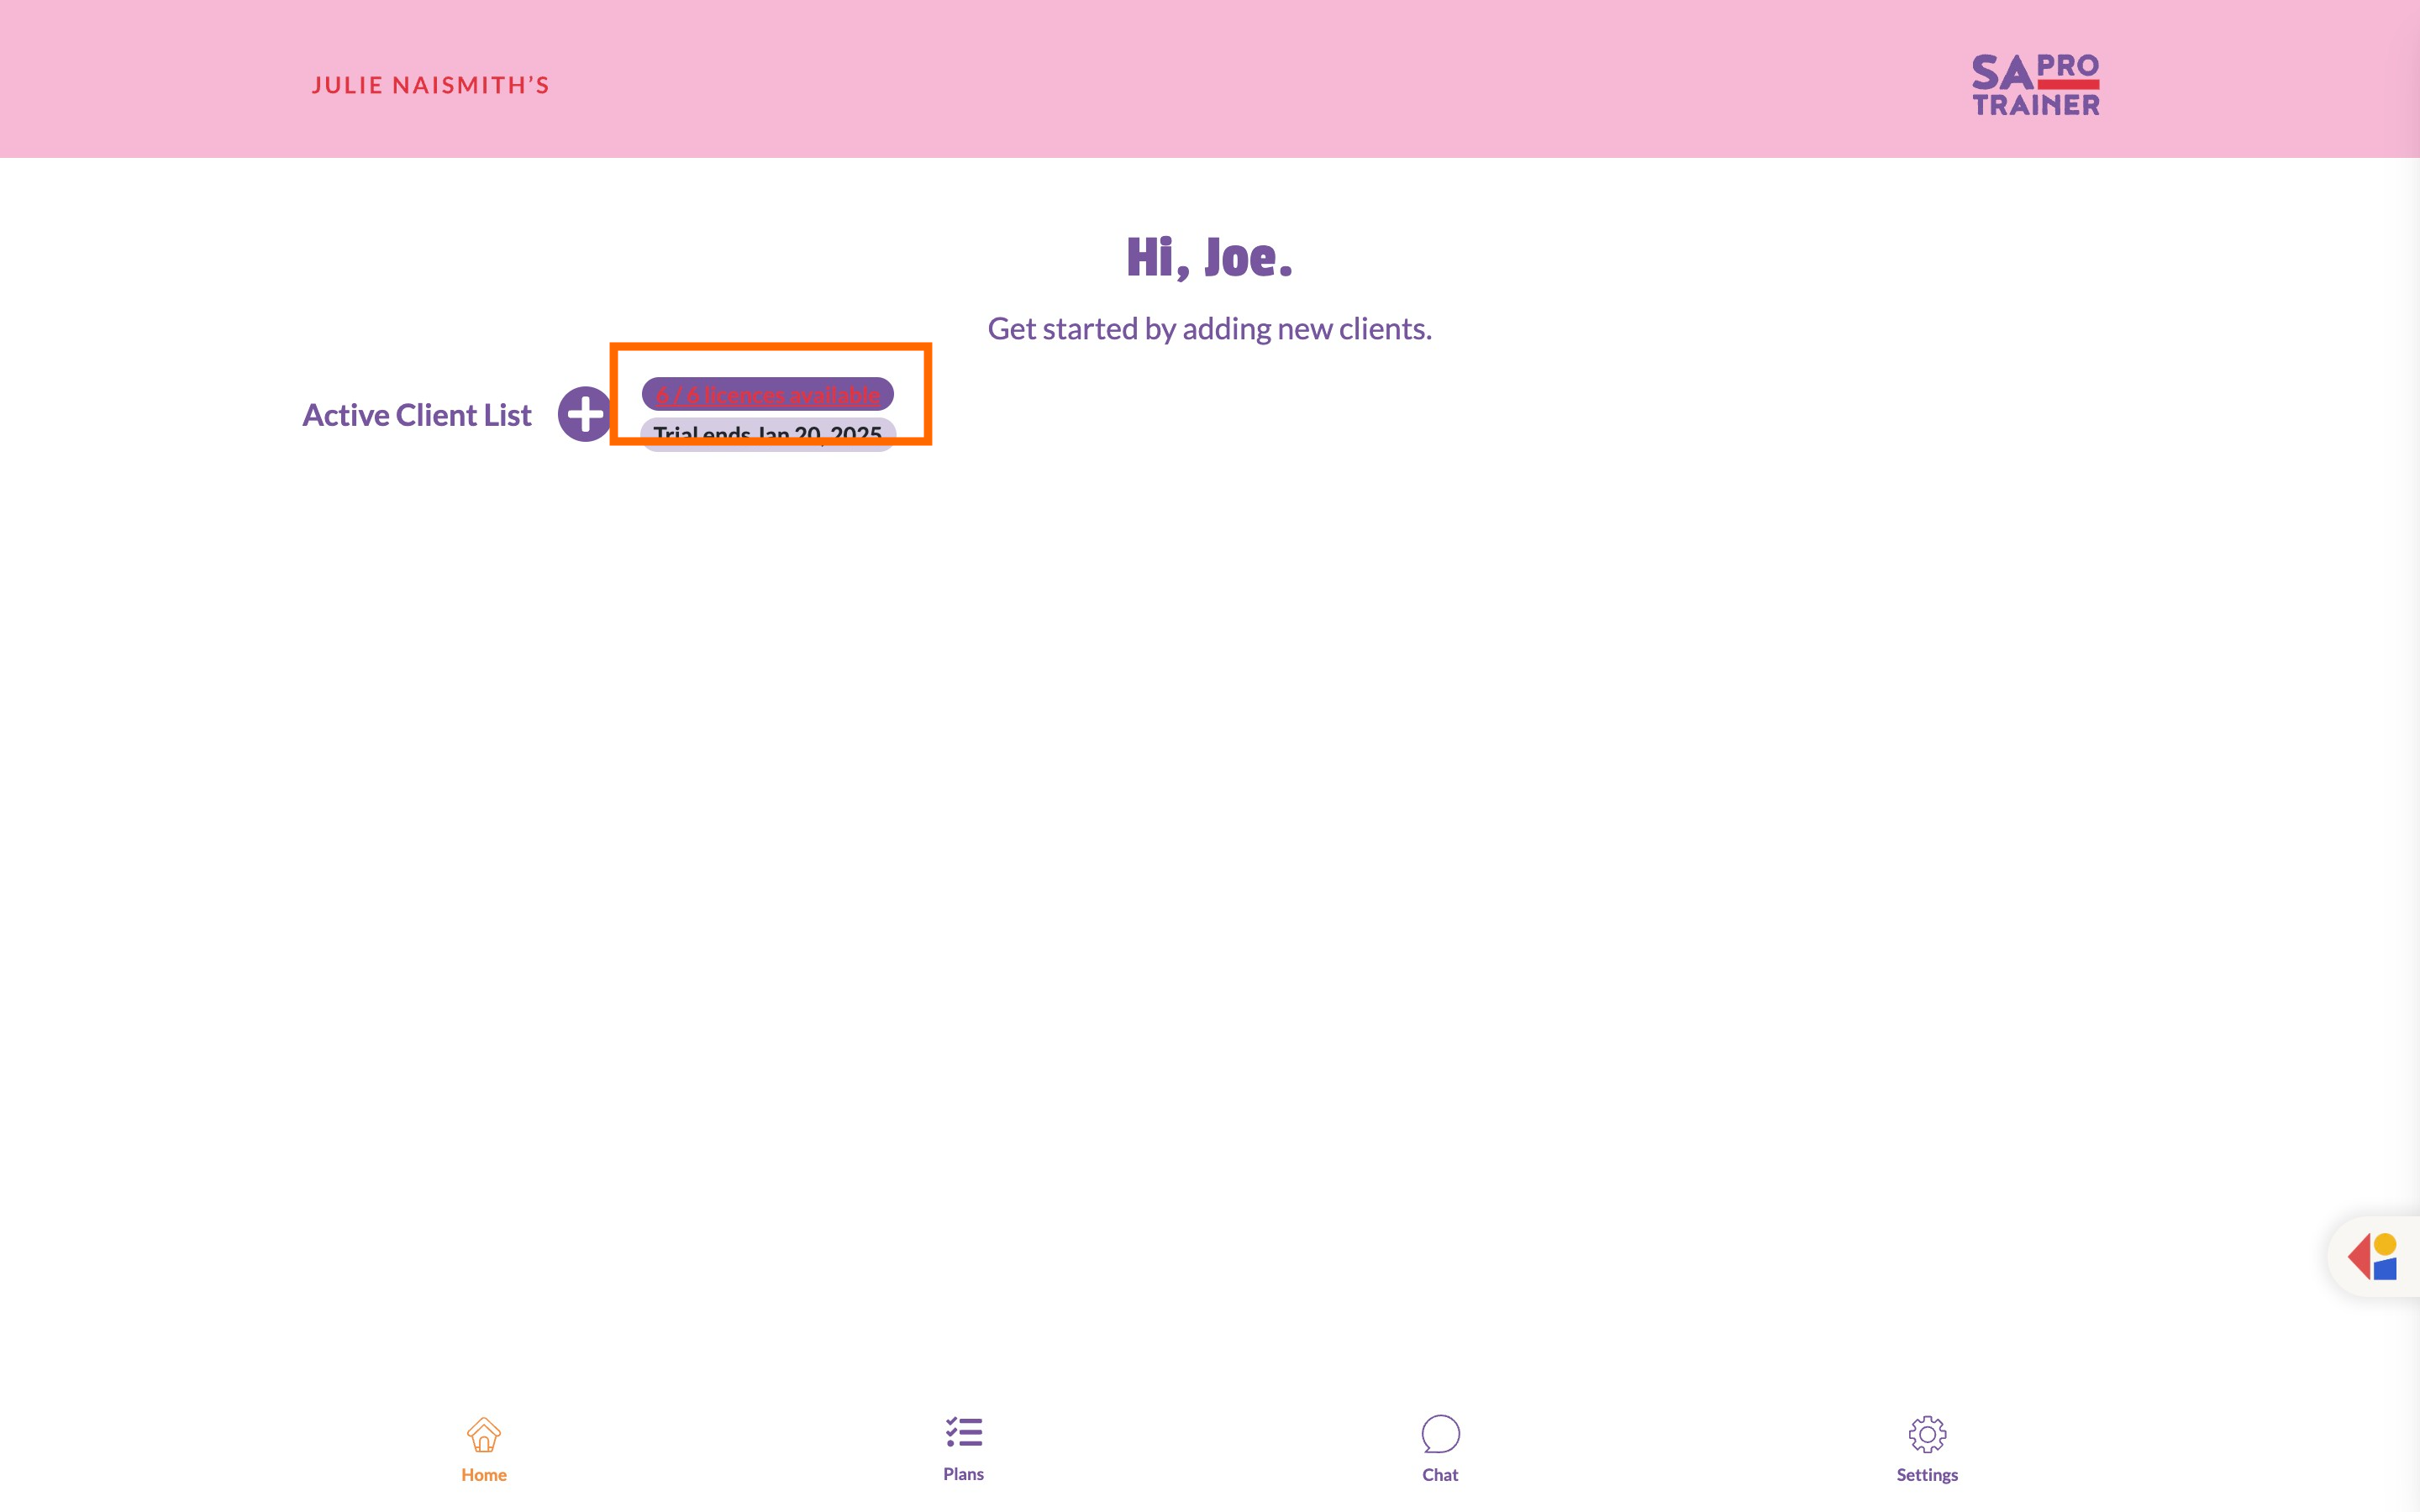
Step 2: Add or Remove licenses
Once you're in the licenses section, you can either click the '+' button or the '-' button to add or remove licenses.
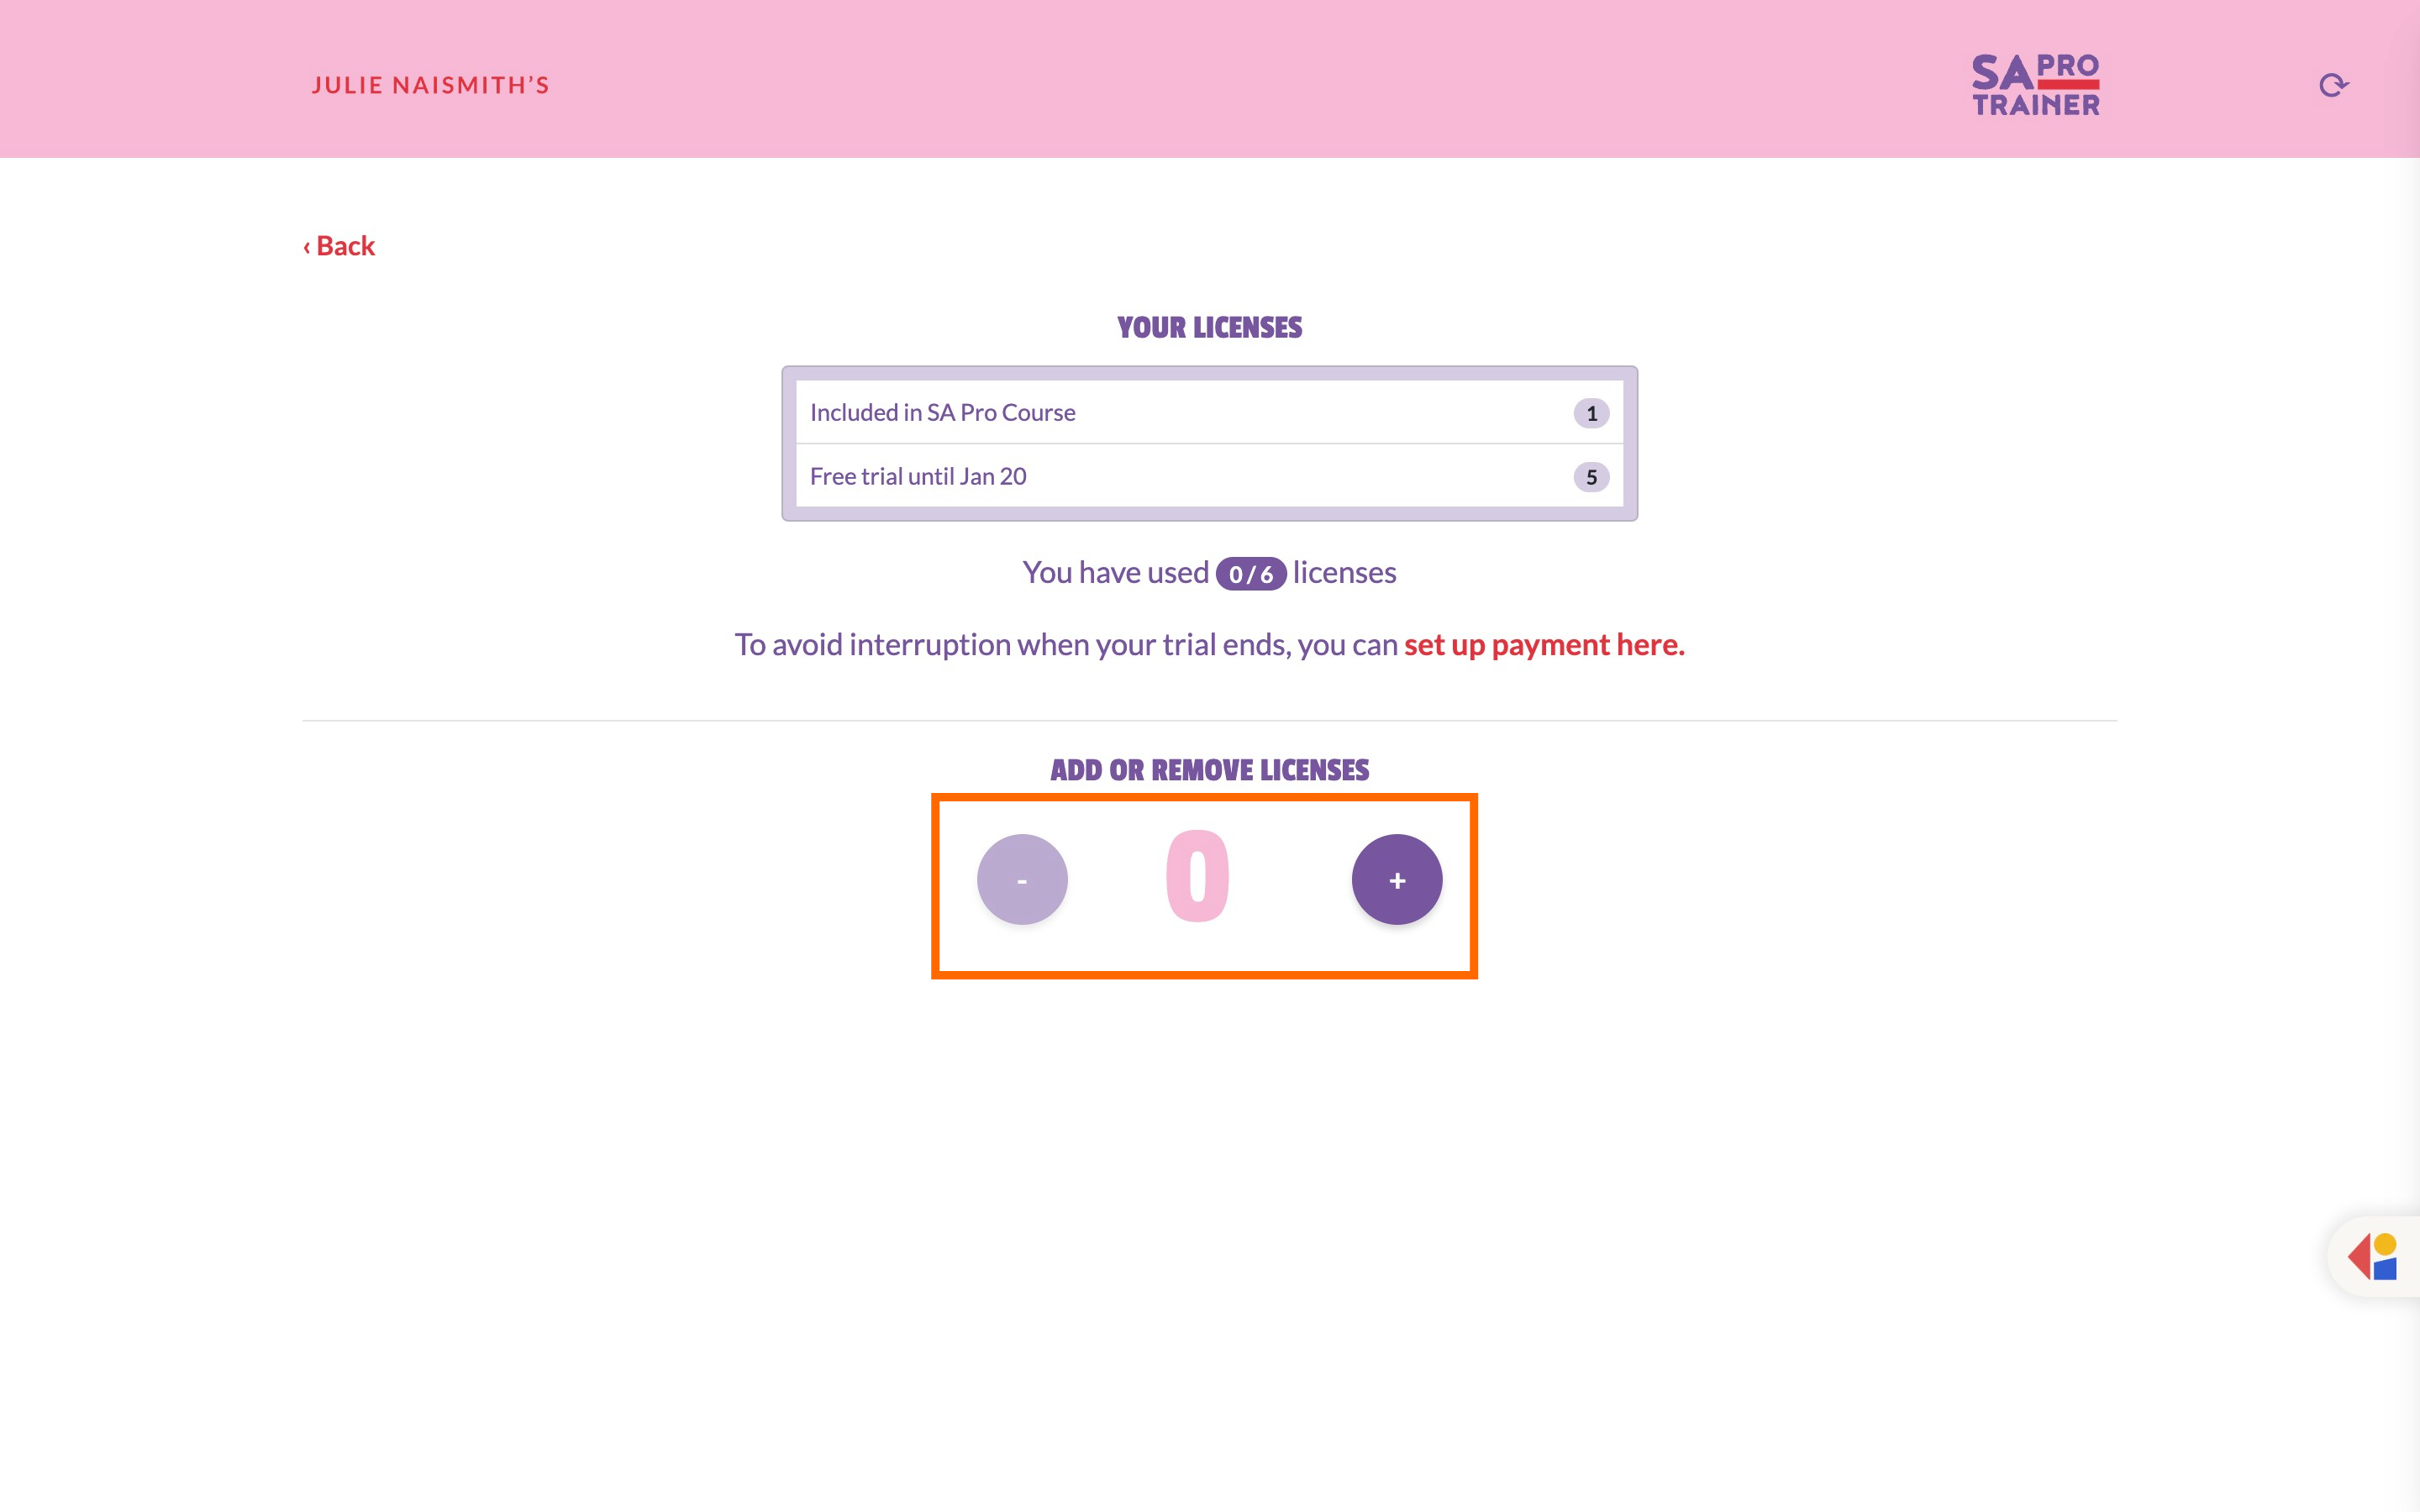
Step 3: Click + button to add a license.
click the '+' button to add a license.
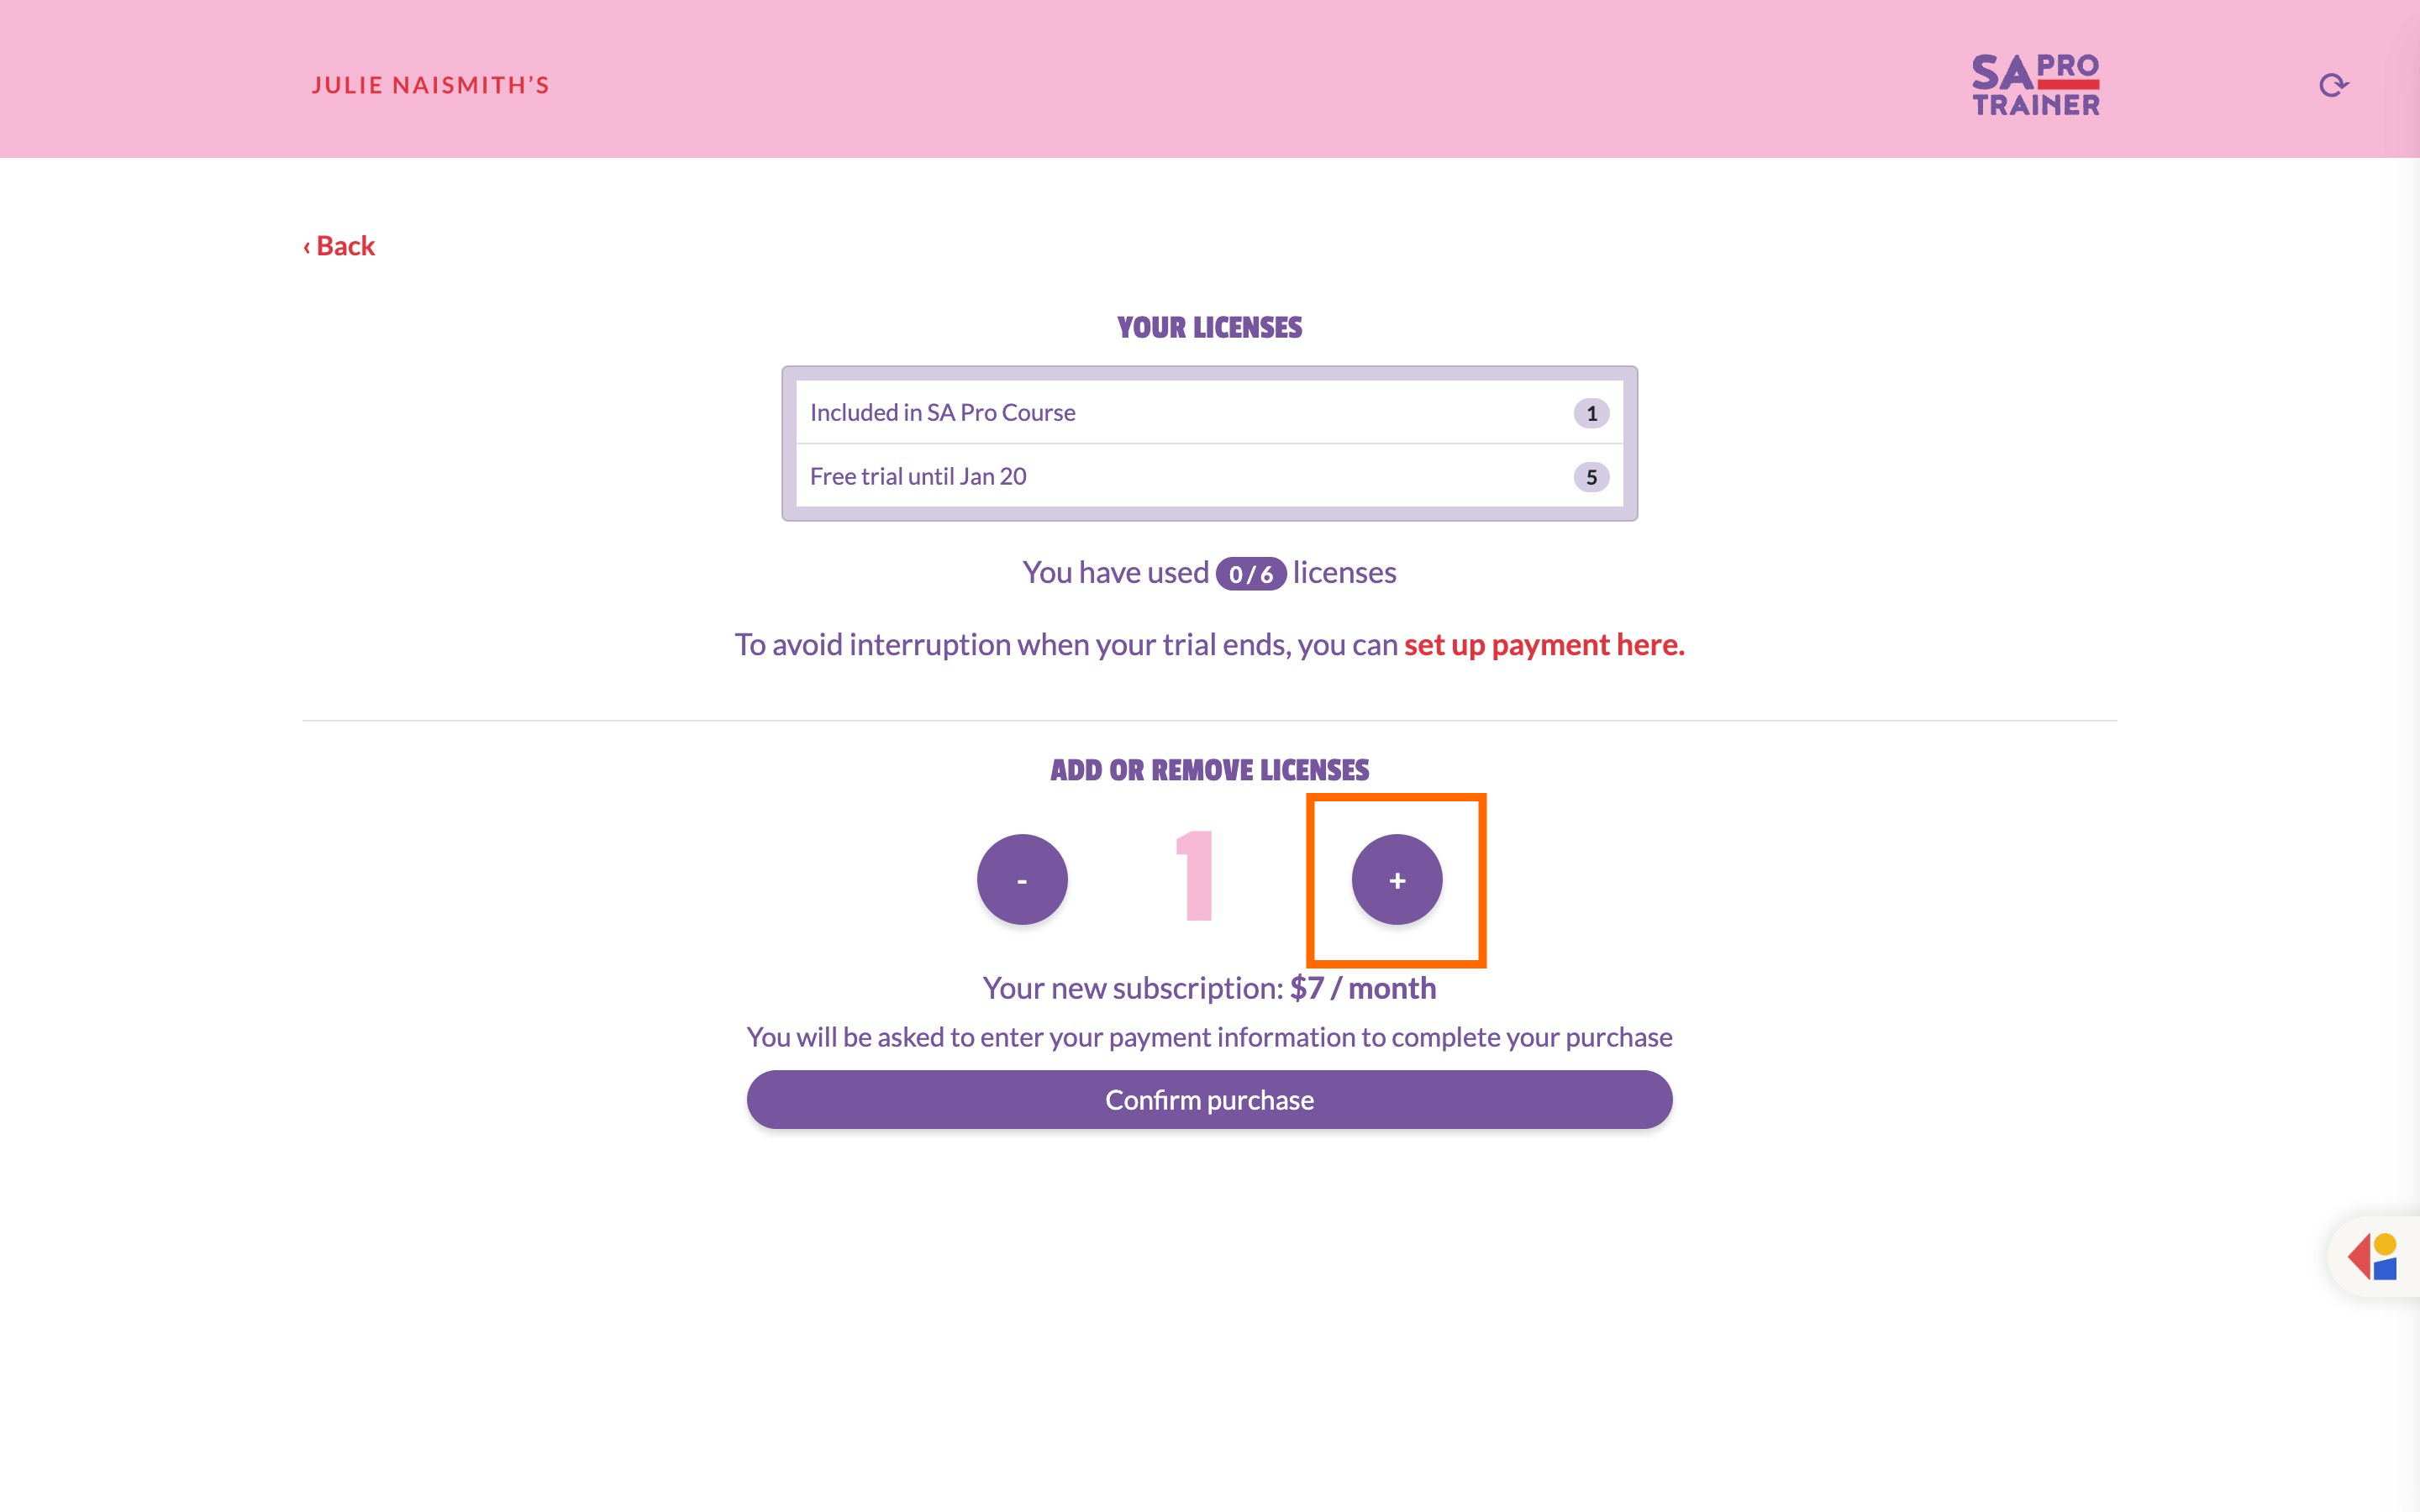
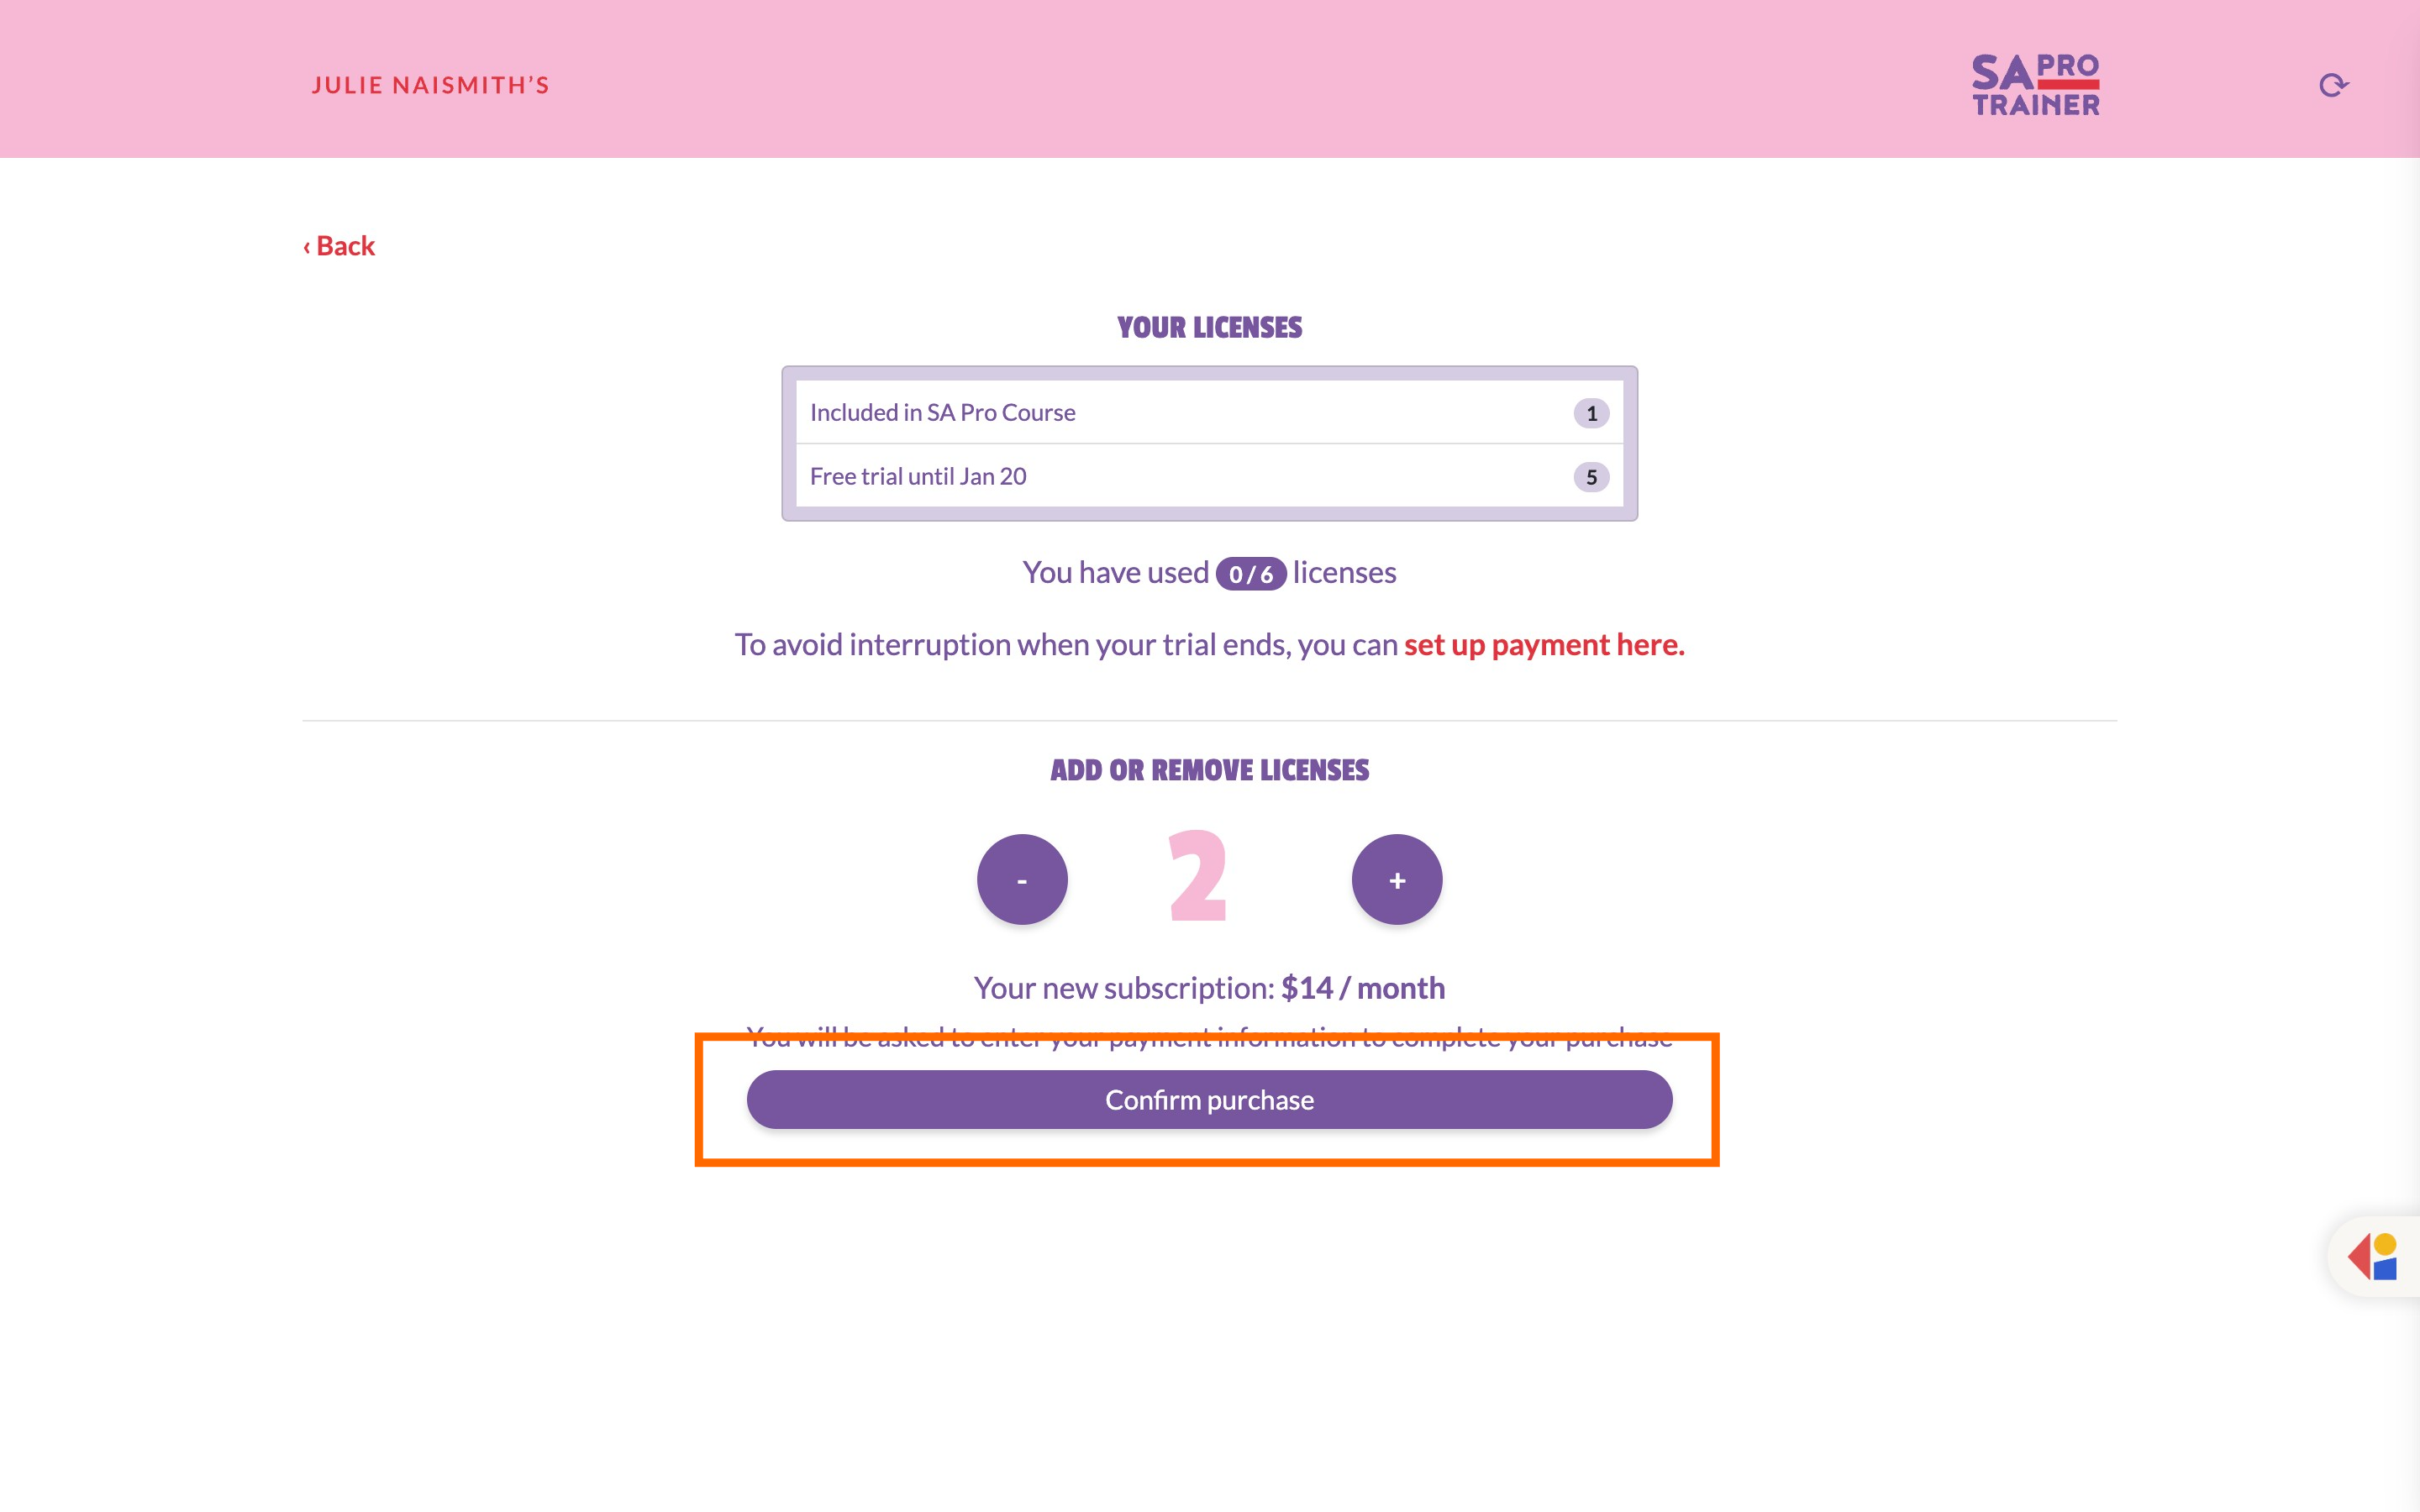
Step 4: Click Confirm purchase button to confirm purchase.
Click the 'Confirm purchase' button to proceed with the addition of the new license. This action will open a confirmation dialog.
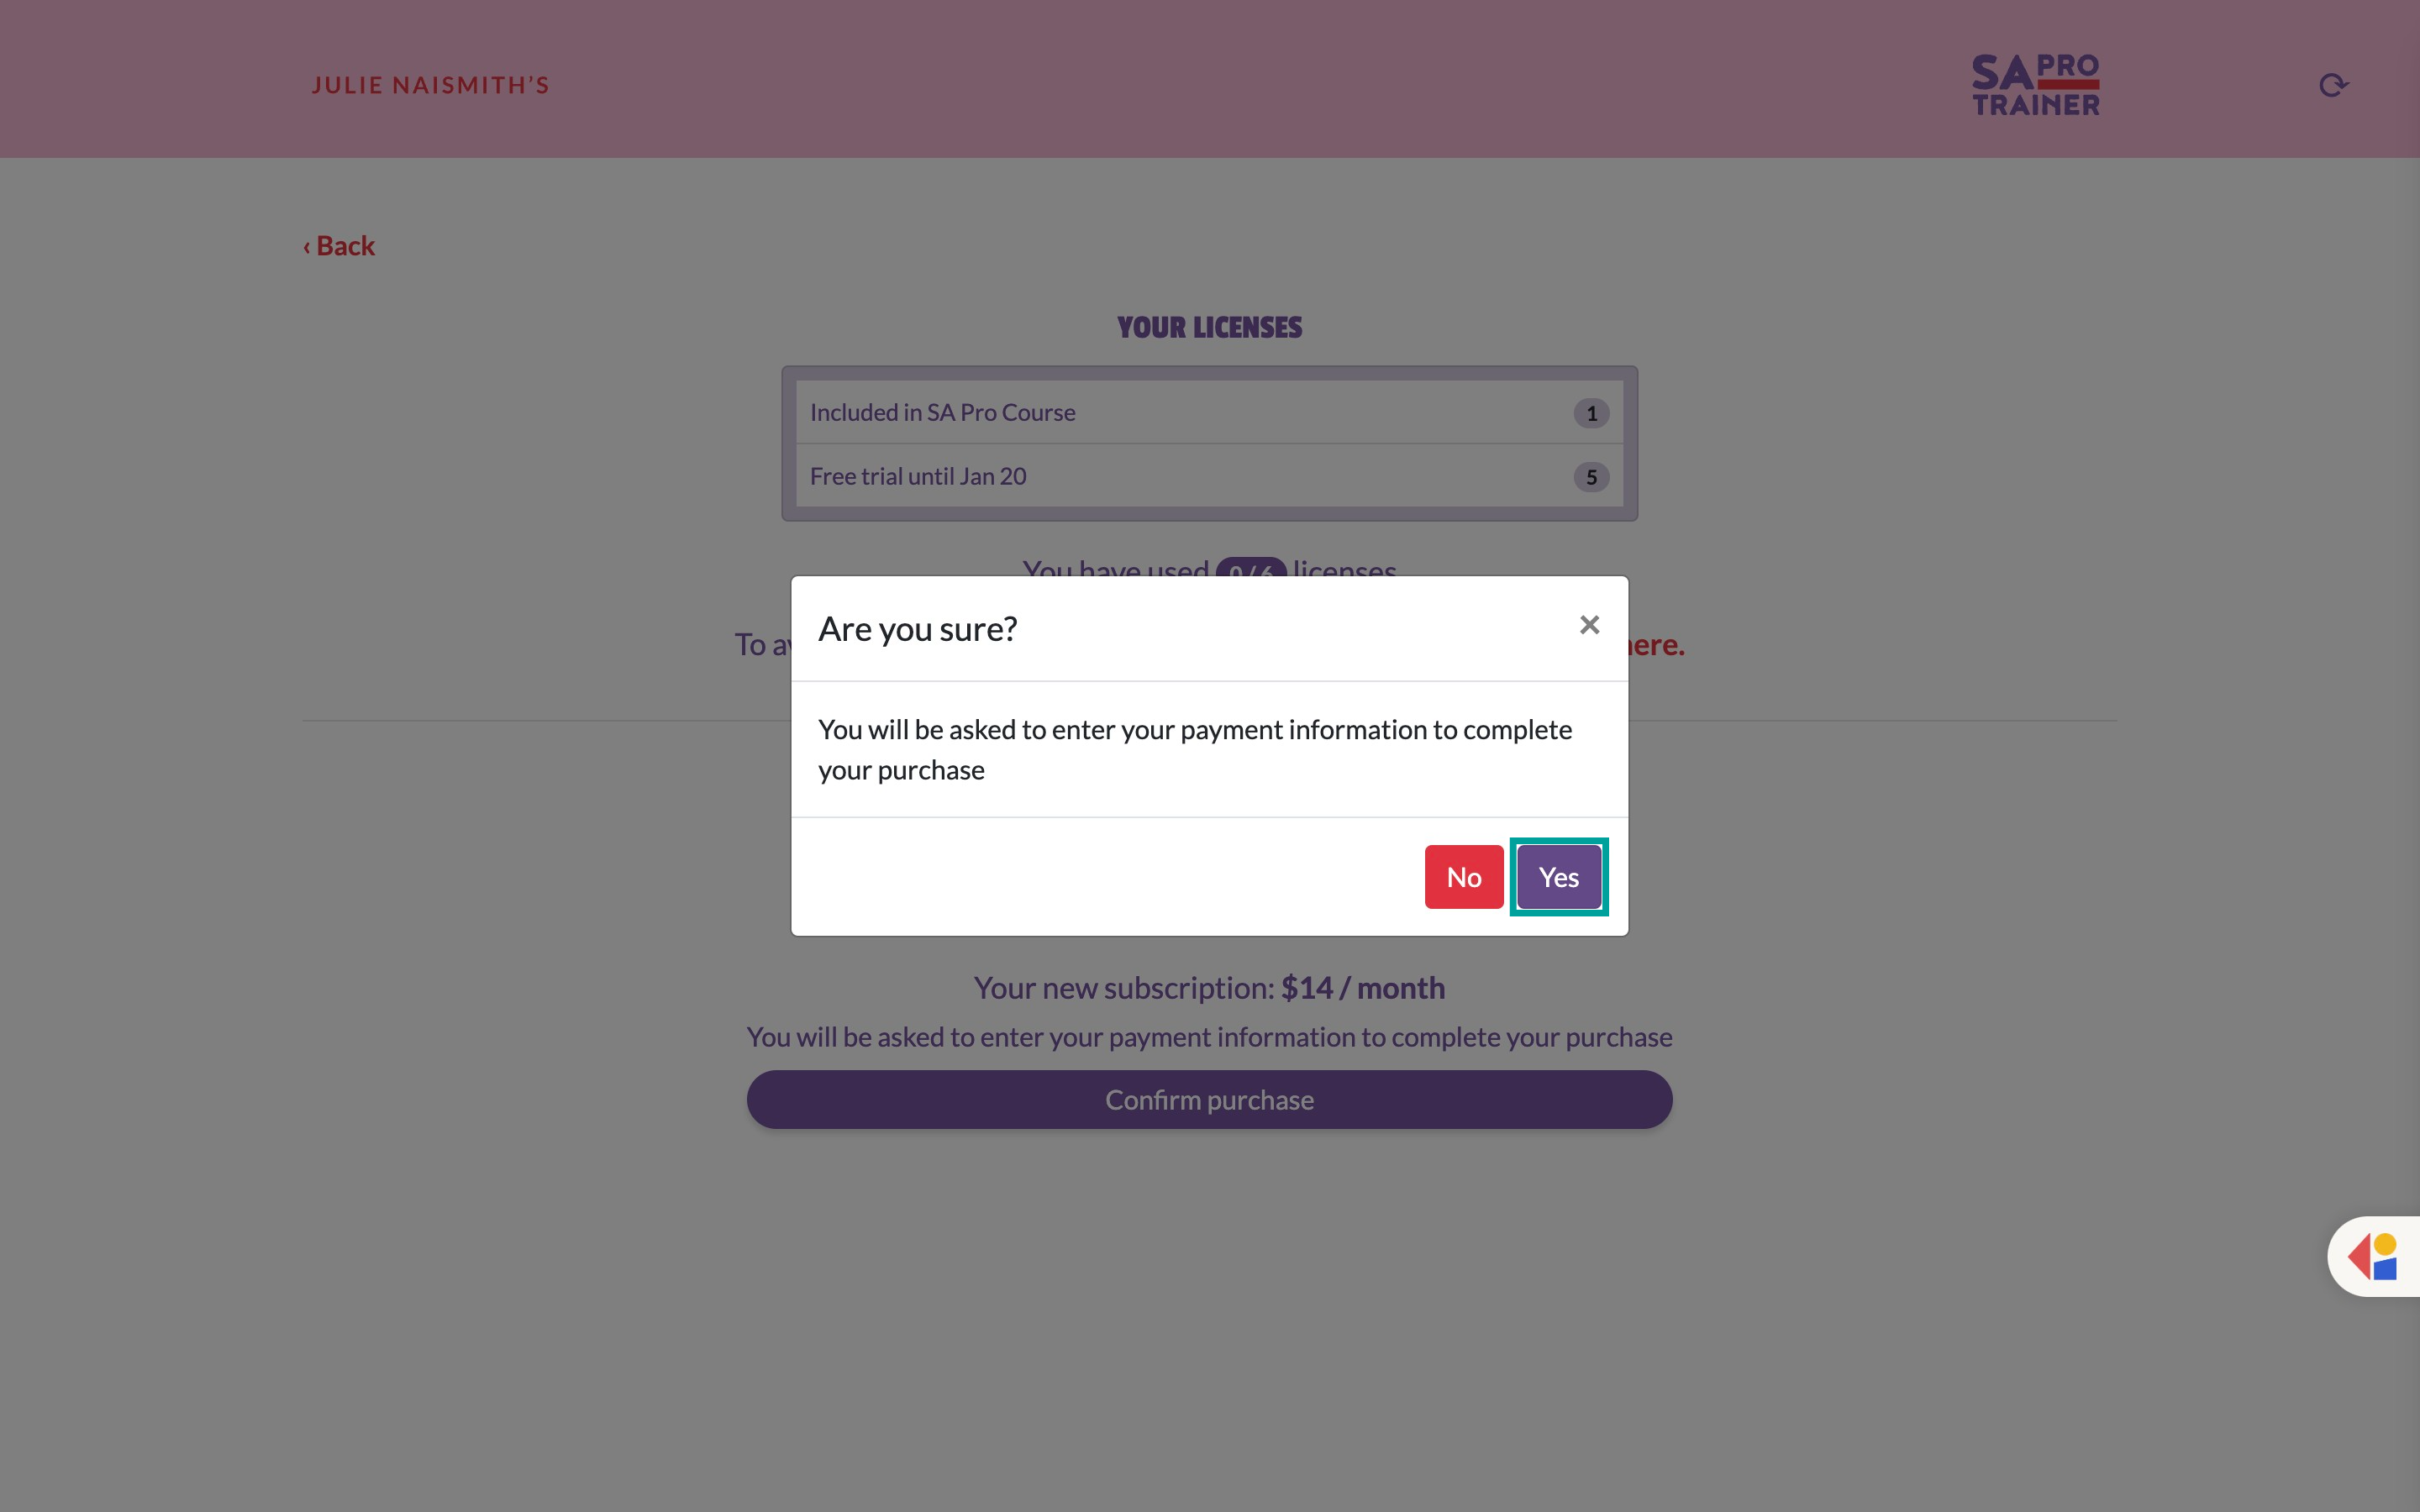
Step 5: Click Yes button to confirm
In the confirmation dialog, click the 'Yes' button to finalize the purchase. This step ensures you have agreed to add the license.
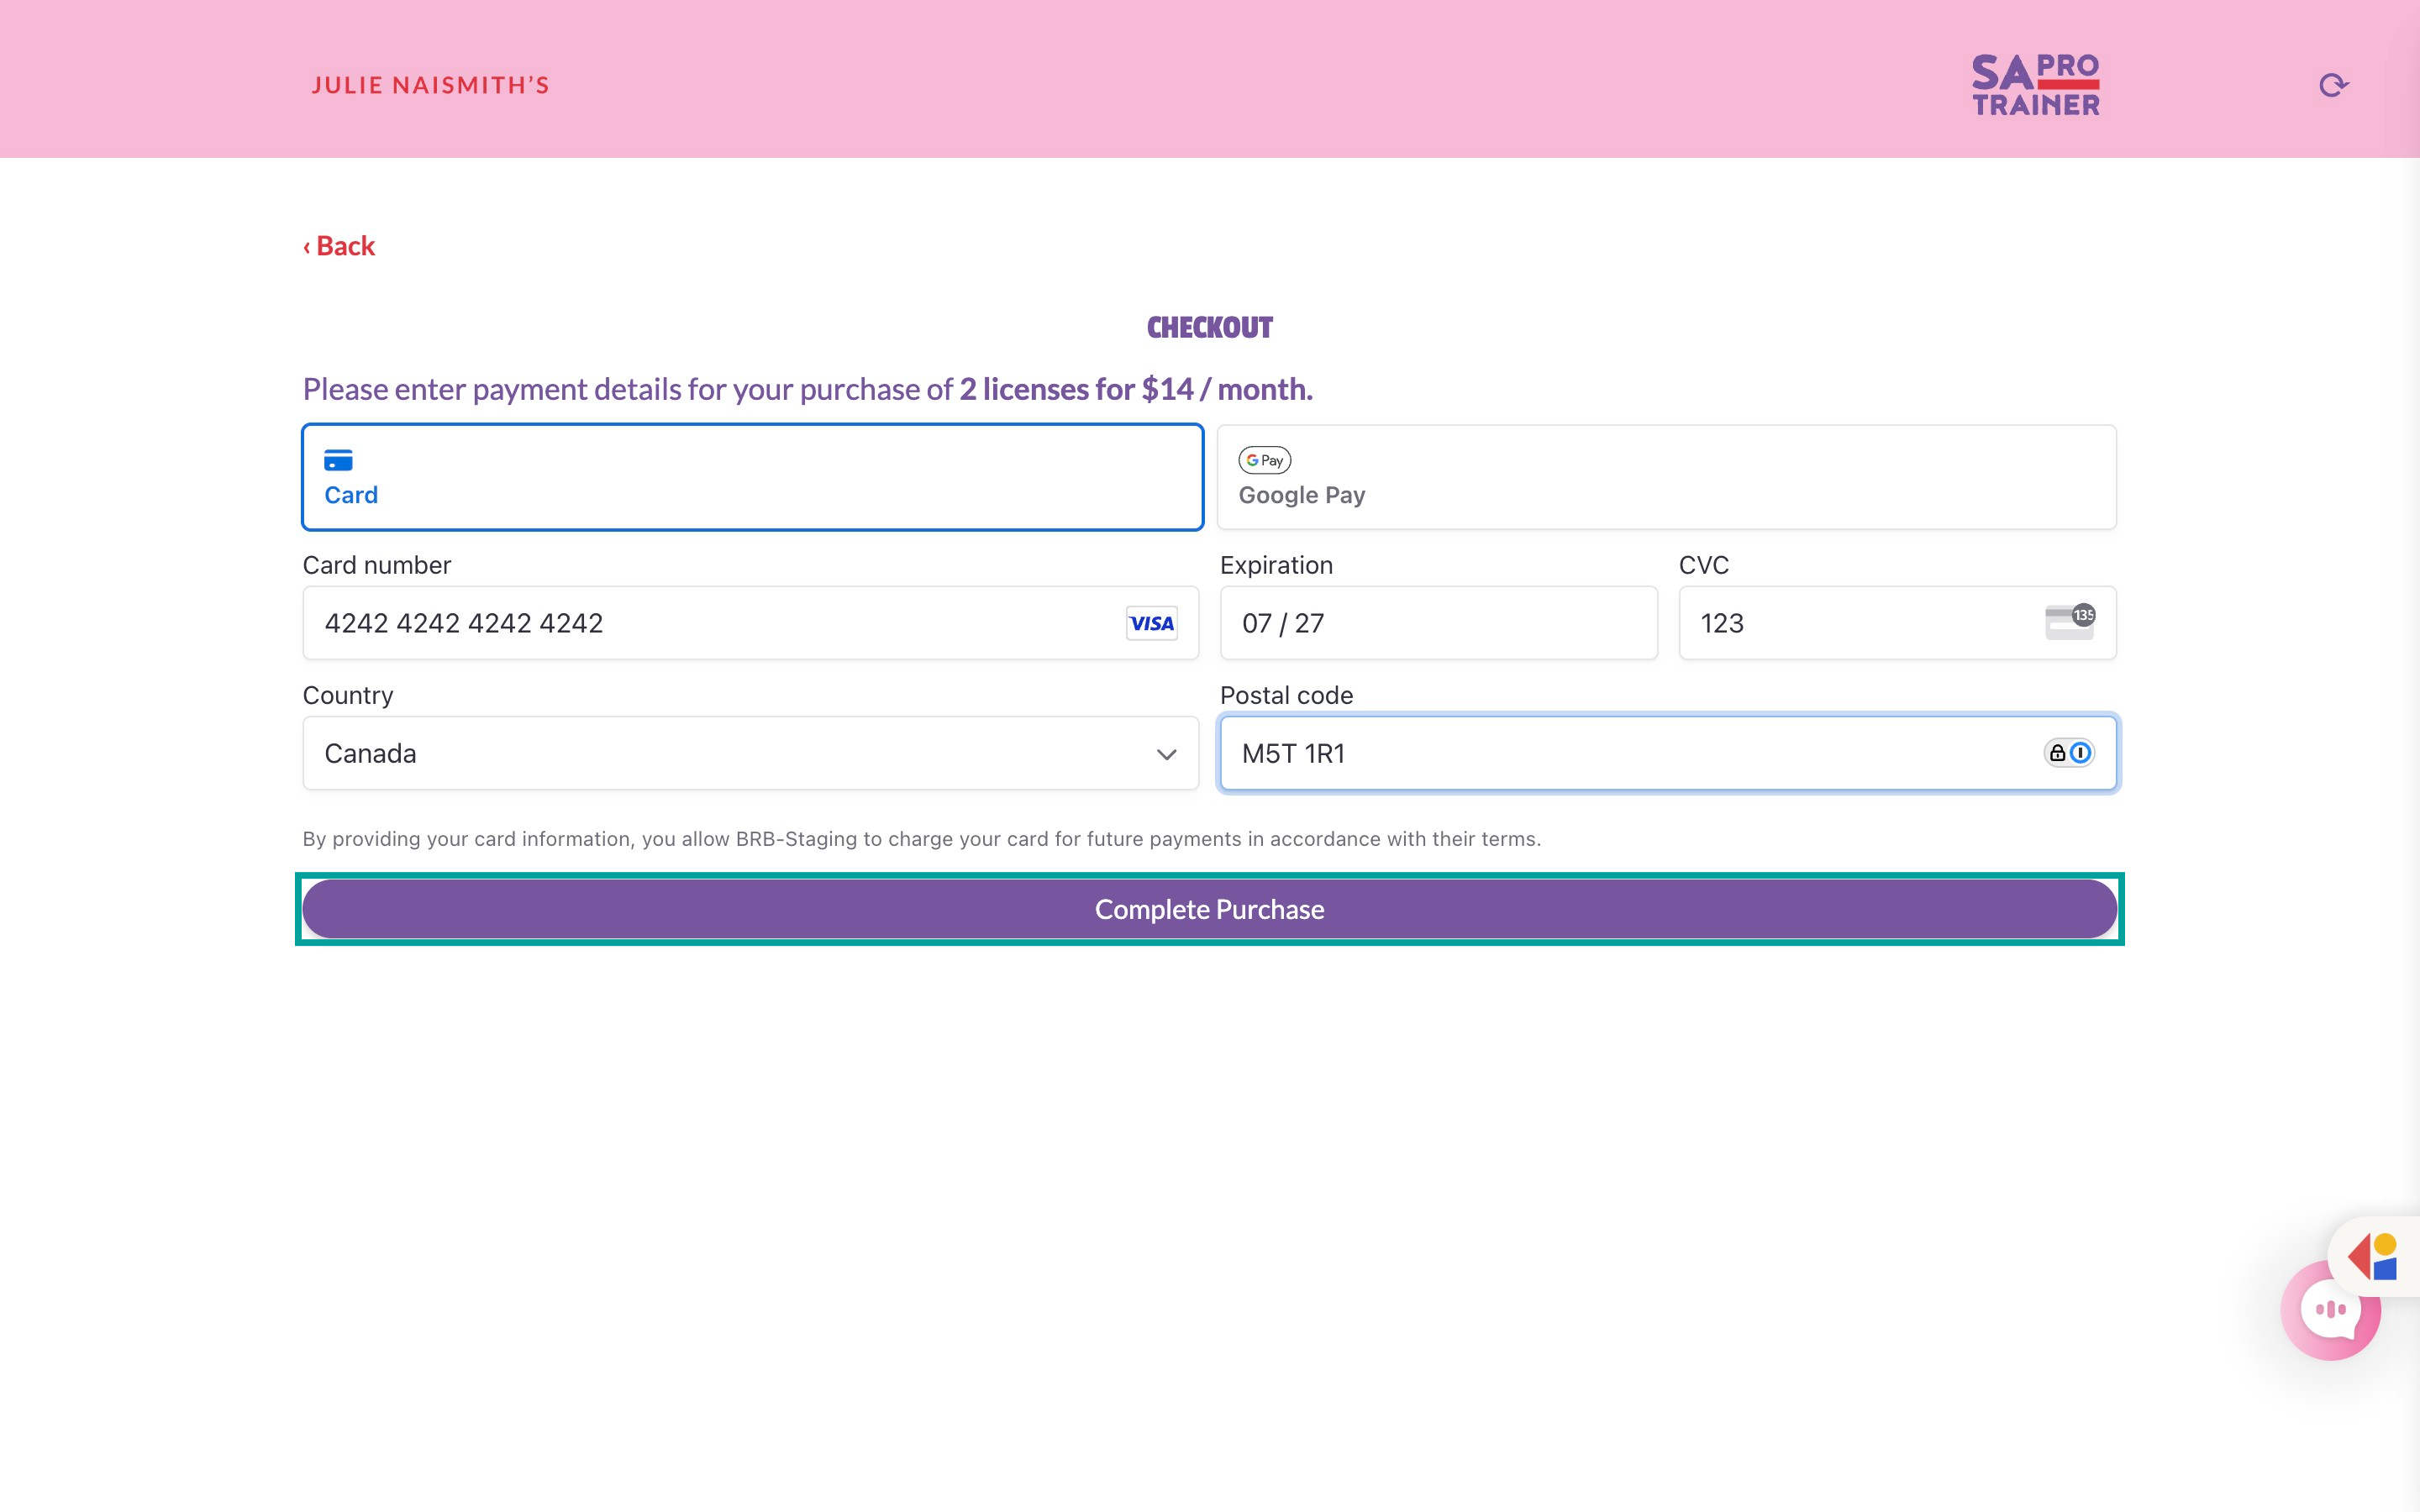
Step 6: Complete your payment details.
Click the 'Complete Purchase' button to complete the transaction. This action will officially add the new license to your account.
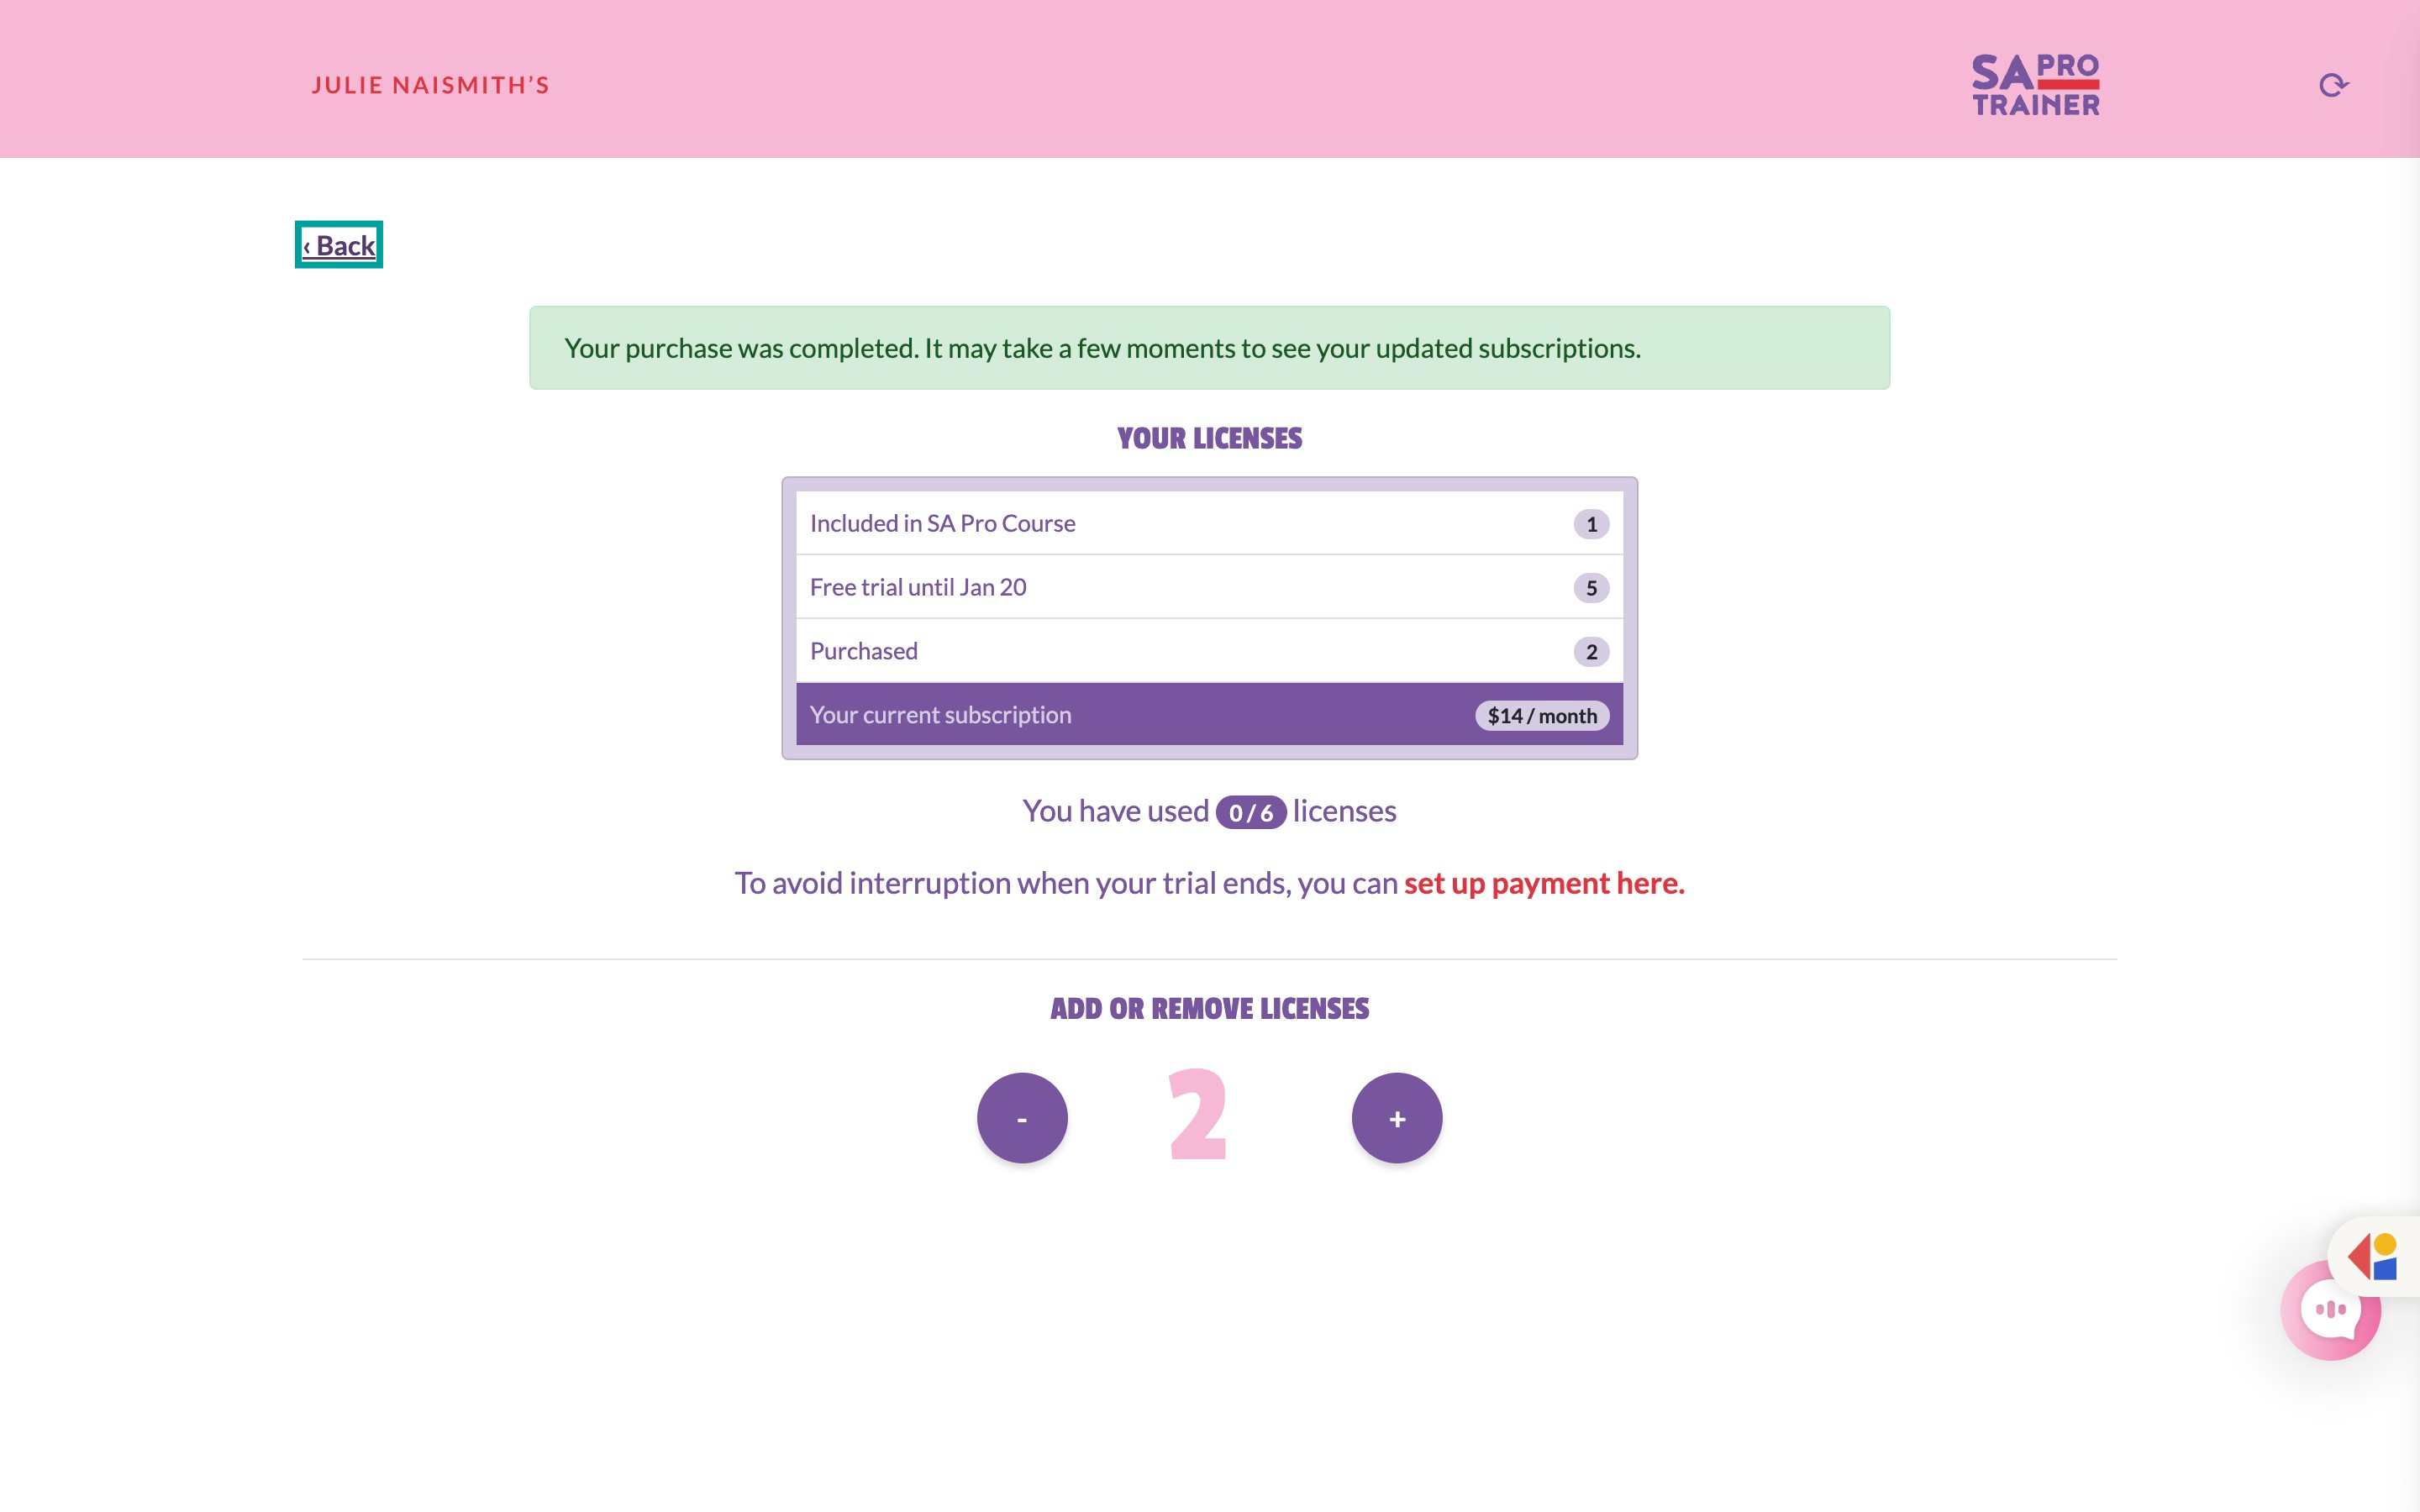
Step 7: Navigate back to your Dashboard.
After completing the purchase, navigate back to your dashboard by clicking the '‹ Back' button. This will take you back to the previous screen.
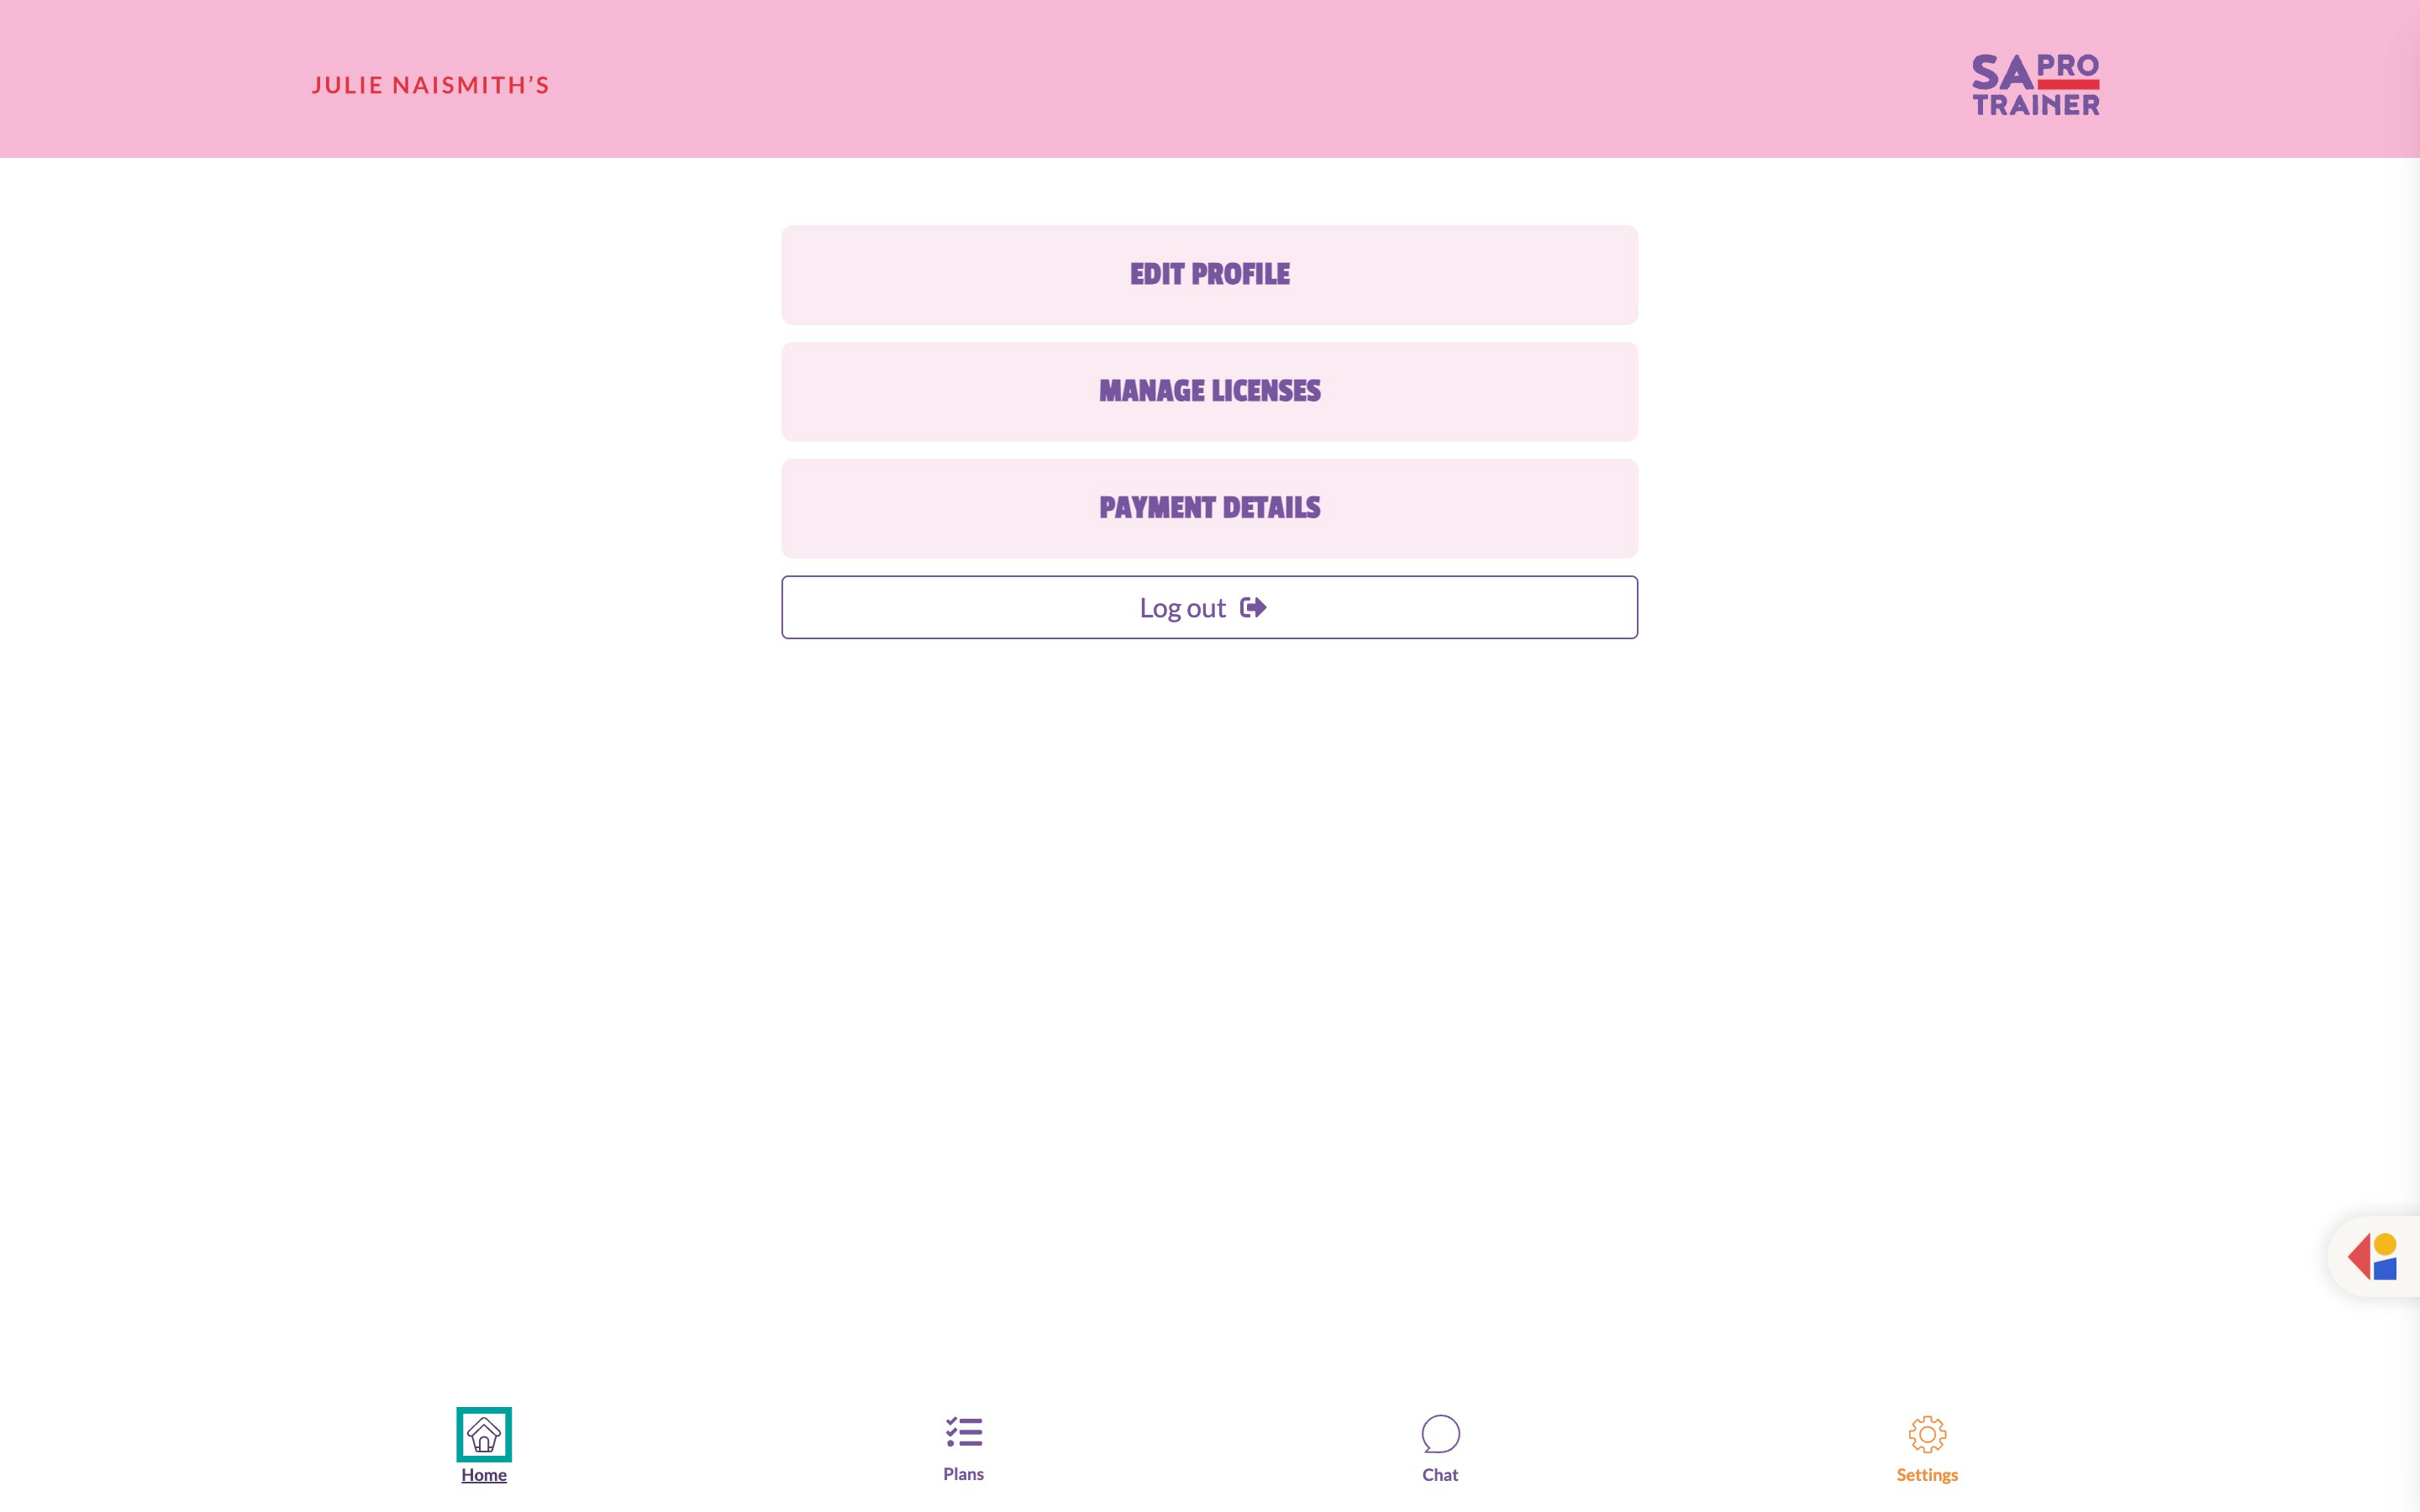
Step 8: Click the Home button to get to your Dashboard.
Next, click on 'Home' to return to the main dashboard. This will help you verify the changes from a central point.
Step 9: You will now see your new license status.
Finally, navigate back to the licenses available' section to see the updated status of your licenses. Confirm the new license has been added successfully.
